Filling in personal information
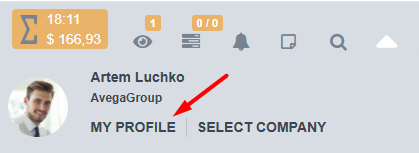
Now that we have sorted out the tracker itself, we can now look at the rest of the site. Let's start with personal data. In the top menu, via the "Profile" link, we can go to our account settings. Let's go through the menu items.
Account settings
Set up your personal information, the necessary contact information. Perhaps the application did not pull up some during registration.
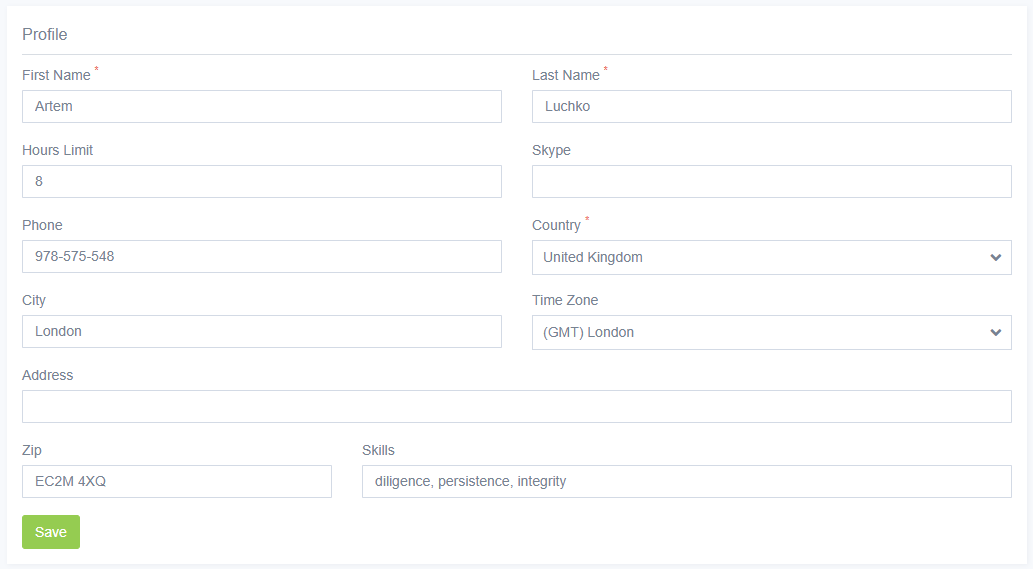
Specify the time zone, country and number of hours you plan to work per day. These fields are quite important, as they will affect the output data and work with content.
Choosing an avatar
We believe that additional explanations are unnecessary here. Choose an avatar that suits you. The image size limit is 2 megabytes.
Registration data
In this section, if necessary, you can change your password, and even your email. Please be extremely careful and attentive when changing.

Adjusting advanced settings
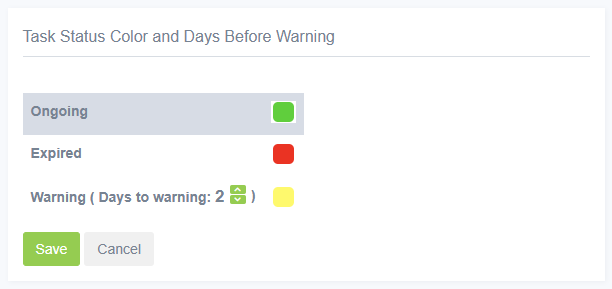
Task status color and number of days before warning - here you can select colors for visual marking of tasks in progress, as well as the number of days before which the task will begin to be highlighted before moving to the "overdue" status.
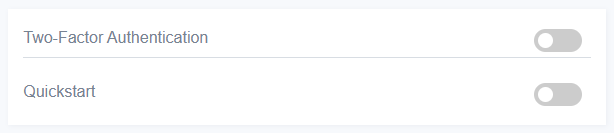
Two-factor authentication - here you can activate two-factor authentication, as well as activate/deactivate the toolbar with hints.
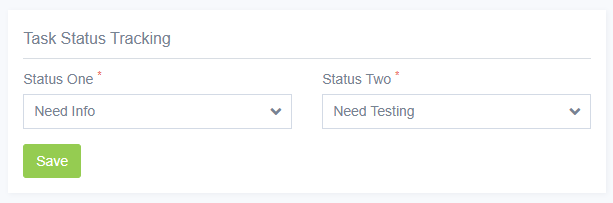
Task status tracking - in this tab you can select two statuses that you most need to track. After that, they will be displayed in the top menu, and, accordingly, you can open their list in one click.
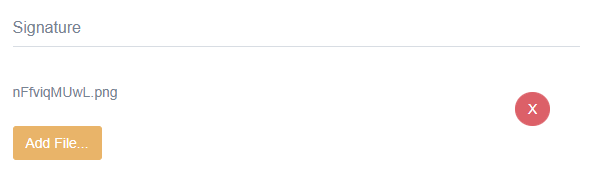
Signature - an electronic signature that will be used for generated invoices.
Selecting notifications and reports
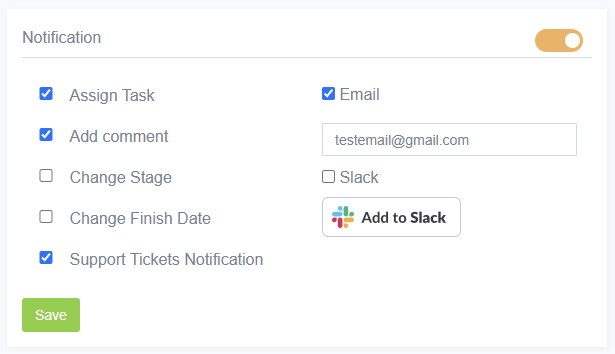
Notifications - in this tab you can enable various notifications on tasks being performed, and not only, and then select how to receive them - by email or in Slack.
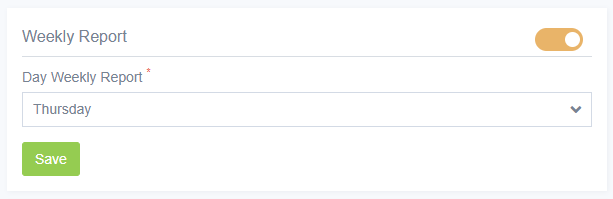
Weekly report - By activating this item, you can automate the receipt of reports on tasks being performed and select the day on which they receive.
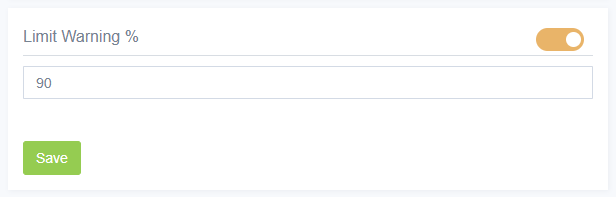
Limit Warning % - This limiter is used to warn you that the working time allocated for the day is about to end. If, for example, you set a limit of 10 hours, and the warning is 90% of the total time, then after 9 hours the application will give you a warning that the time is about to end.