
Customers
Whatever the target, working with tasks begins with the customer, because without him it is impossible to create a project and a task. By default, we automatically created one customer for you, but now we will figure out how to do it by yourself.
General information
You can view the contents of the Customers page in both table and poster style. There is quite a lot of information on each of them. There is no functional difference between the two styles, the only question is which one is more convenient for you to work with. You will always see the title/name of the customer, a list of projects that are linked to it, as well as brief information on the budget and the implementation of created tasks. Some of the information is presented in pictograms. Let's dwell on them a little and figure out what is what. P or C - the type by which the budget will be calculated (by Project or by Customer). Hours or a dollar sign - how the costs are measured, in hours or currency. The next pictogram indicates the budget limit - unlimited, monthly, weekly or total. Next come the summary numbers. For an unlimited budget it will be - How much was spent for the entire time / For the current month. For other budget types, it will be - How much spent / How much remains (for a month, week, or total).
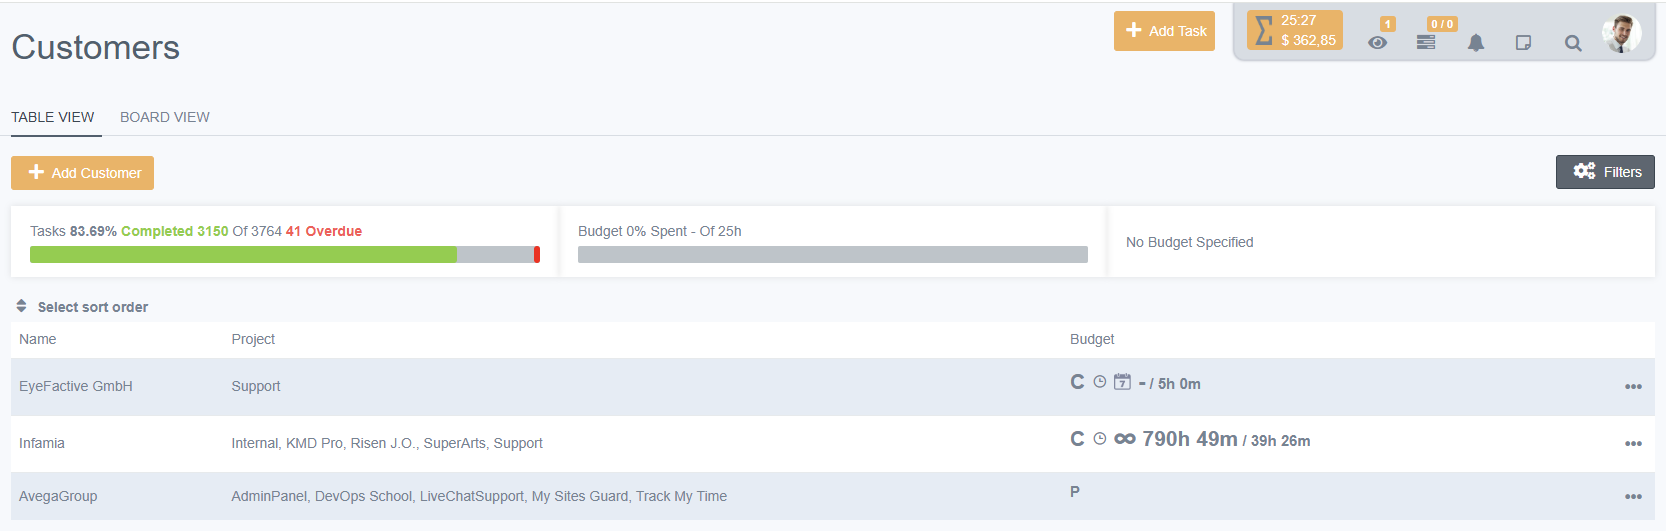
In addition to everything, there are three summary windows above the list of Customers. The first of them displays the total number of tasks for all customers, the percentage of their completion, as well as the number of those whose completion is overdue by the set completion date. The second - summary data on hourly budgets, the third - on monetary. If there are any, of course.

There are only two actions that can be performed with customers from the list. The first is to enter additional functionality and edit one of the customers. The second is to send to the archive. This is almost like deleting, with the only difference that customers can be viewed or even returned to normal state. To do this, you need to enter the filters and switch to displaying Archived customers. This is where you can return any customer to the active state. When sending a customer to the Archive, all of his projects and tasks will also be hidden.


Creation
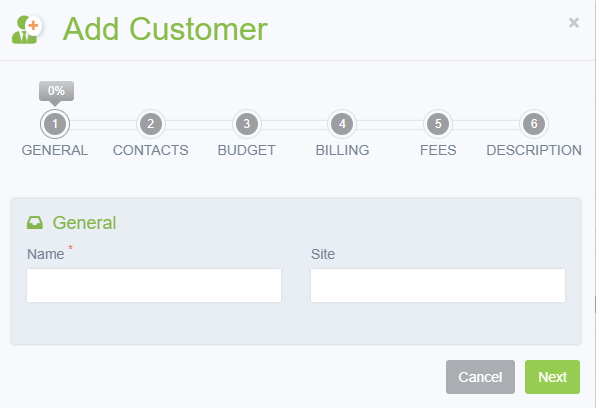
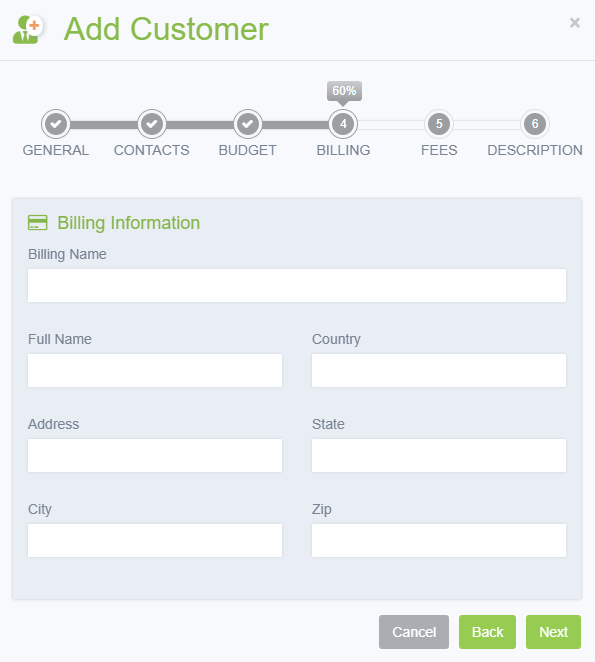
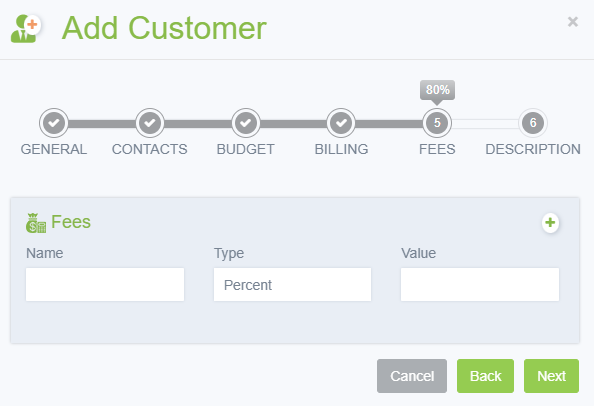
To create a Customer, you need to click the Add Customer button. A dialog box will open in which you need to go through 6 steps.
General - give the customer a name and, if desired, enter their website.
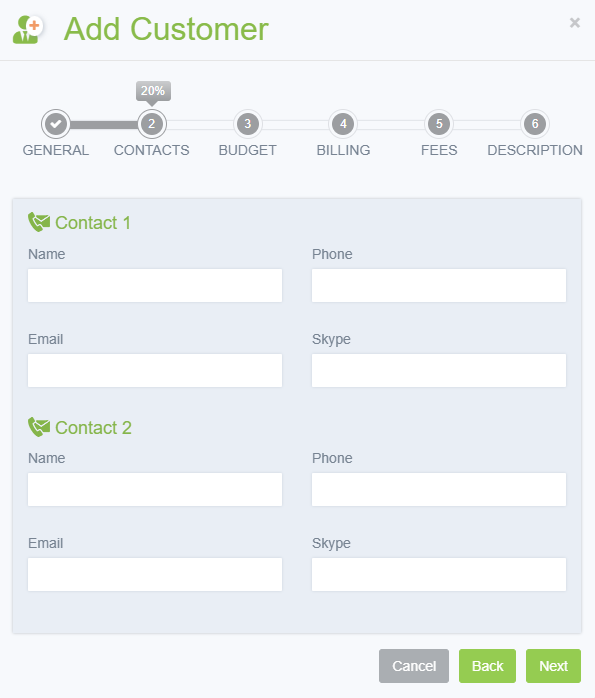
Contact 1 and Contact 2 - optional information with contact details.
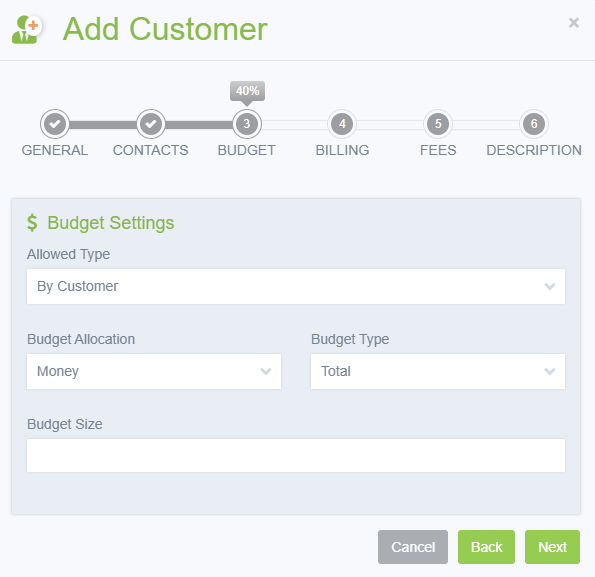
Budget settings - Acceptable type - this is the choice by which the budget will be calculated. By Project - each project will have its own budget settings. By Customer - means that all projects within will have the same time/money rate. When you select it, 2 more fields will open. Budget distribution - what exactly the budget will be calculated by, money or hours. Budget type - determines whether the budget will be unlimited or finite. If you select NOT unlimited, Allowed hours/Budget size appears, where the budget size for the specified period of time is indicated. Total is the general budget that has no time frame. That is, distribute the budget for all customer projects.
Billing information - information primarily for invoices and reports.
Fees - if your region imposes certain taxes on profits, you can specify them to receive reports that take these taxes into account.
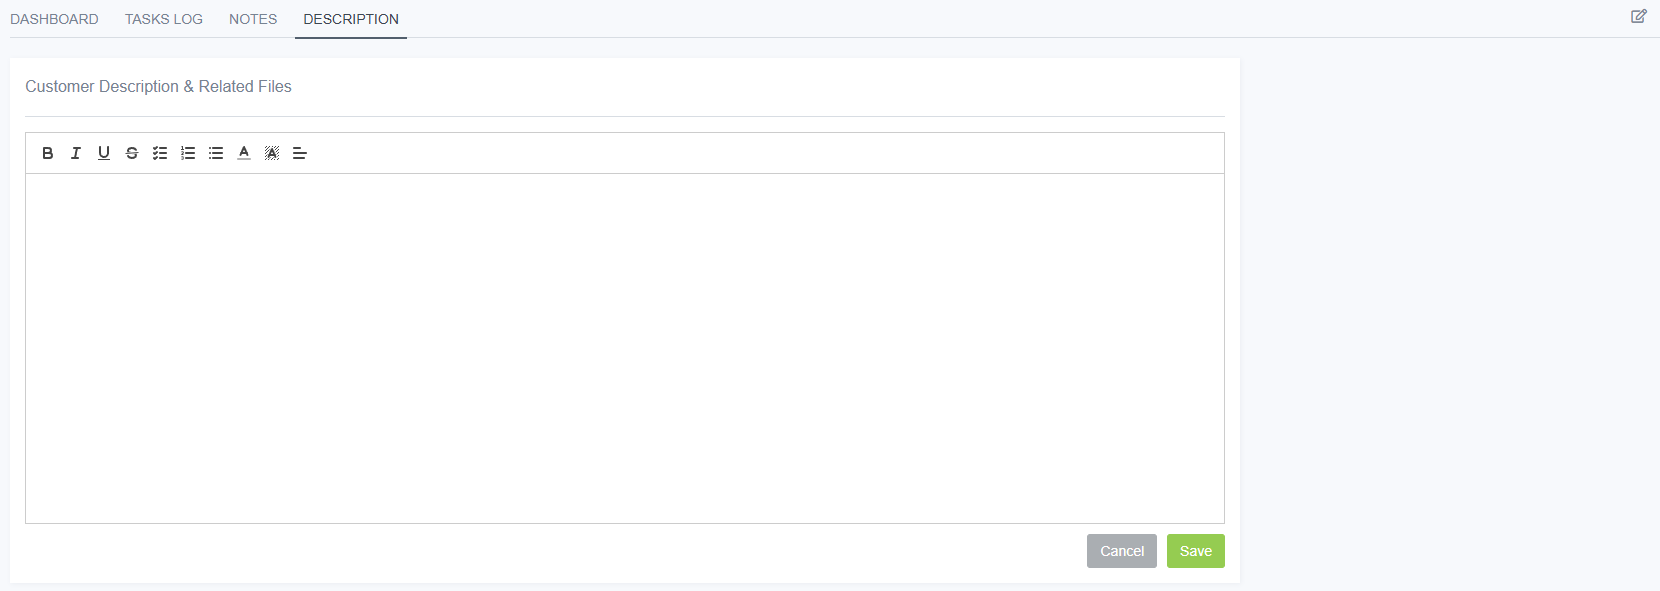
Customer description and related files - customer description, with the ability to add screenshots, pictures or other files.

Next, all we have to do is click the Save button.
Details
Now let's look at the functionality within each individual Customer.
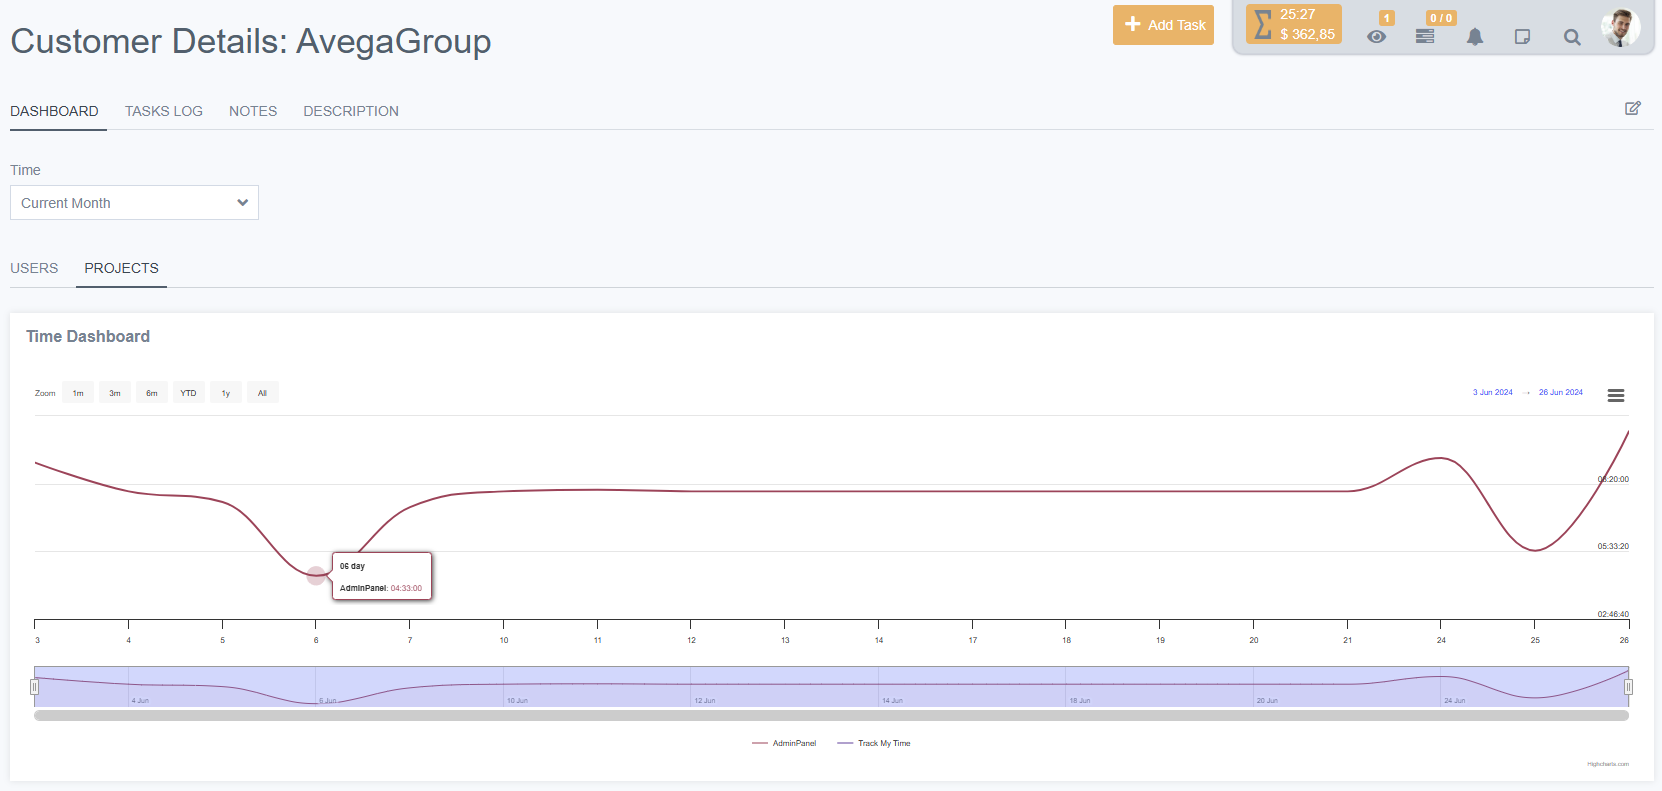
DASHBOARD - Information page. Here you can see data on tasks performed, time spent, as well as income and payment to employees.
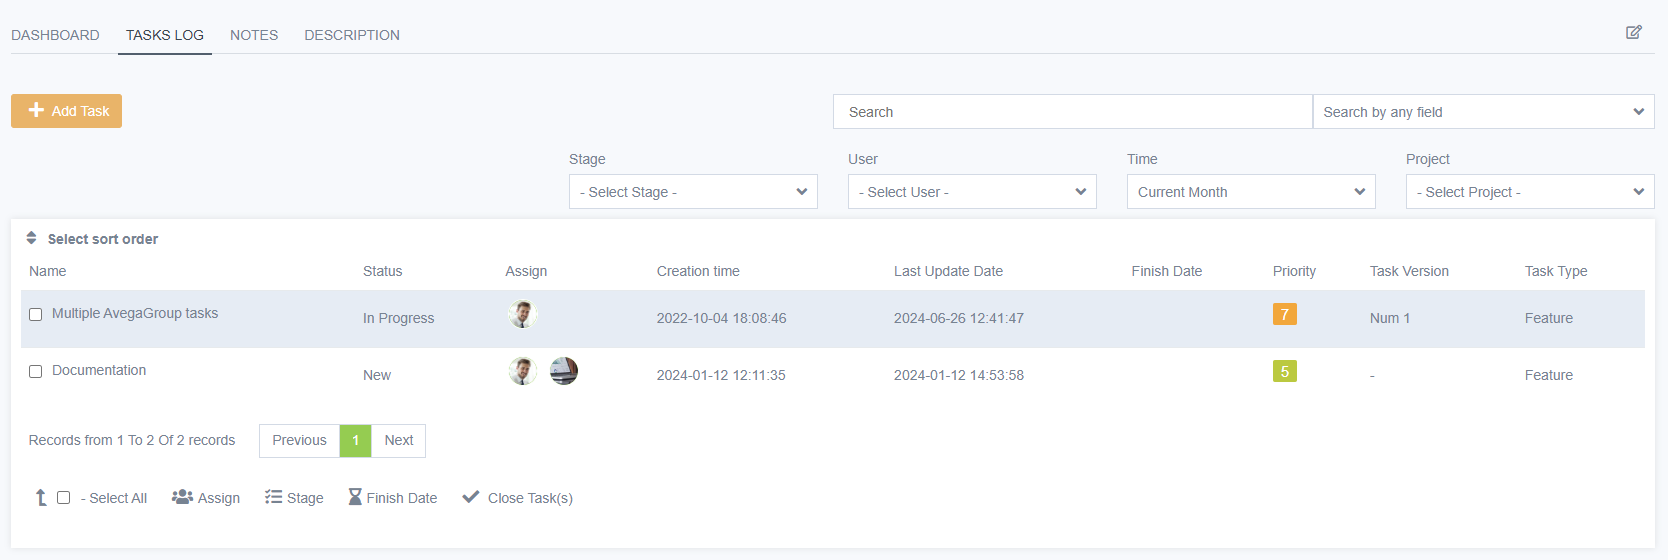
JOURNAL - tasks created for this customer. If desired, you can create a task directly from here using the Add Task button. After clicking it, you will be redirected to the expanded creation page.
NOTES - In this section, you can keep notes about the customer, their requirements, etc.

DESCRIPTION - Description and attached files.
EDIT - By clicking the small icon, we will see that all the fields that we went through during creation are stored here.
